Welcome to the Honeywell T5 Installation Manual. This guide provides comprehensive instructions for installing, configuring, and troubleshooting your smart thermostat, ensuring optimal performance and compatibility with your HVAC system.
Overview of the Honeywell T5 Thermostat
The Honeywell T5 Thermostat is a smart, budget-friendly device designed for seamless integration with home HVAC systems. It offers Wi-Fi connectivity, voice control via Amazon Alexa and Apple Siri, and compatibility with Apple HomeKit. The T5 is less sophisticated than other smart thermostats but provides essential features like geofencing and smart alerts for energy efficiency. It is easy to install and configure, making it a practical choice for homeowners seeking a cost-effective solution. While it lacks advanced features, the Honeywell T5 delivers reliable performance and smart home integration, catering to users who prioritize simplicity and affordability without compromising on core functionality.
Importance of Proper Installation
Proper installation of the Honeywell T5 Thermostat is essential for ensuring safety, efficiency, and optimal performance. Incorrect installation can lead to safety hazards, such as electrical issues or improper HVAC system operation; It also guarantees compatibility with your existing heating and cooling system, preventing potential damage or inefficient energy use. A correctly installed thermostat ensures accurate temperature control, energy savings, and seamless smart home integration. Additionally, proper installation minimizes the risk of common issues like connectivity problems or malfunctioning features. Always follow the installation manual and safety precautions to avoid complications and ensure your Honeywell T5 Thermostat operates at its best, providing reliable comfort and energy efficiency for years to come.
Pre-Installation Checklist
Before installing the Honeywell T5 Thermostat, ensure you have all necessary items and complete preliminary checks. Gather the installation manual, screwdrivers, and mounting hardware. Verify compatibility with your HVAC system and check power requirements. Ensure your Wi-Fi network is accessible and have your router credentials ready. Confirm if your system requires a C-wire or if a power-stealing configuration is needed. Turn off power to the HVAC system at the circuit breaker. Verify the existing thermostat is properly disconnected. Check if your system has a backup power source or requires additional wiring. Review local building codes and ensure all safety precautions are understood. Finally, confirm the thermostat’s mounting location and ensure it is level for accurate temperature sensing. Proper preparation ensures a smooth and successful installation process.
System Requirements and Compatibility
The Honeywell T5 Thermostat is compatible with most HVAC systems, including forced air, heat pumps, and radiant cooling. It supports gas, oil, and electric systems, as well as conventional and heat pump configurations. Ensure your system meets the thermostat’s voltage and wiring requirements for optimal performance. Compatibility with smart home systems like Amazon Alexa and Apple HomeKit is also supported. Verify your HVAC system type and ensure it aligns with the T5’s specifications before proceeding with installation.
Compatibility with HVAC Systems
The Honeywell T5 Thermostat is designed to work seamlessly with a variety of HVAC systems, ensuring versatility for different home setups. It is compatible with forced air systems, heat pumps, and radiant cooling systems, making it suitable for both heating and cooling applications. The thermostat supports gas, oil, and electric heating systems, as well as conventional and heat pump configurations. For optimal performance, ensure your HVAC system aligns with the T5’s wiring and voltage requirements. Additionally, the T5 supports multi-stage heating and cooling, allowing for precise temperature control. Always verify the compatibility of your HVAC system with the Honeywell T5 before installation to ensure proper functionality and performance.
Power Requirements
The Honeywell T5 Thermostat requires a 24V AC power supply, which is typically provided by the HVAC system’s transformer. It is compatible with most standard heating and cooling systems that use a C-wire (common wire) for constant power. If your system does not have a C-wire, the thermostat can still function using battery power, but a C-wire is recommended for optimal performance. Ensure the power supply matches the thermostat’s voltage requirements to avoid damage or malfunction. Always disconnect power to the HVAC system before starting the installation to ensure safety. Proper power setup is crucial for reliable operation and smooth integration with your home’s climate control system.
Wi-Fi and Smart Home Integration
The Honeywell T5 Thermostat supports Wi-Fi connectivity, enabling seamless integration with smart home systems. It is compatible with platforms like Amazon Alexa and Google Home, allowing voice control and remote temperature adjustments. To set up Wi-Fi, ensure your router operates on a 2.4 GHz frequency, as the T5 does not support 5 GHz networks. During installation, use the Honeywell Home app to connect the thermostat to your Wi-Fi network. Once connected, you can access advanced features like geofencing, smart alerts, and energy usage reports. This integration enhances convenience, energy efficiency, and smart home automation, making the T5 a versatile and modern thermostat for any connected home.
Installation Process
The Honeywell T5 installation involves disconnecting power, mounting the thermostat, connecting wires, and configuring settings. Ensure safety, follow wiring diagrams, and complete the setup accurately for optimal performance.
Preparation for Installation
Before installing the Honeywell T5 thermostat, ensure all necessary tools and materials are available. Familiarize yourself with the thermostat’s components and wiring labels. Review the manual thoroughly to understand the installation steps. Shut off power to the HVAC system at the circuit breaker. Verify the system is cool or warm to avoid potential damage. Gather a screwdriver, drill, and wall anchors if needed. Clean the area around the old thermostat to ensure a smooth installation process. Check for any existing wiring issues or damage. Plan the location for the new thermostat, ensuring it’s away from direct sunlight and drafts for accurate temperature readings. Proper preparation ensures a safe and efficient installation process.
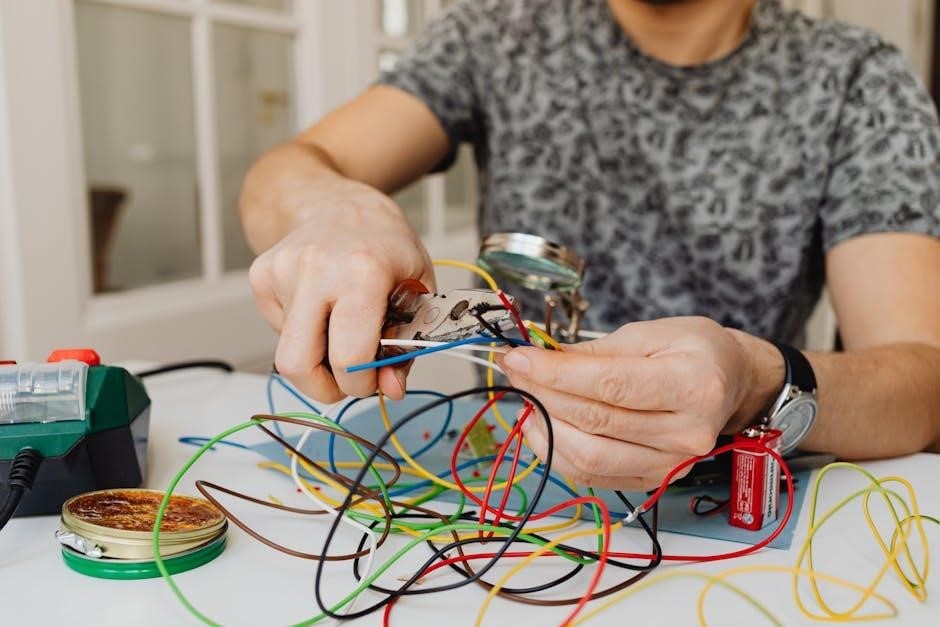
Disconnecting Power and Safety Precautions
Before starting the installation, locate and switch off the HVAC system’s power at the circuit breaker. Ensure the system is completely powered down to avoid any accidental startups. Use a voltage tester to confirm there’s no electricity flowing to the system. Once verified, carefully disconnect the wires from the old thermostat, labeling them if necessary for reconnection. Avoid touching bare wires to prevent short circuits. Remove the old thermostat using a screwdriver, ensuring the area is clean and clear of debris. Keep the power off until the new thermostat is installed and ready for testing. Always refer to the manual for specific wiring instructions and grounding requirements to ensure safety and proper function. If unsure, consider consulting a professional to avoid potential risks.
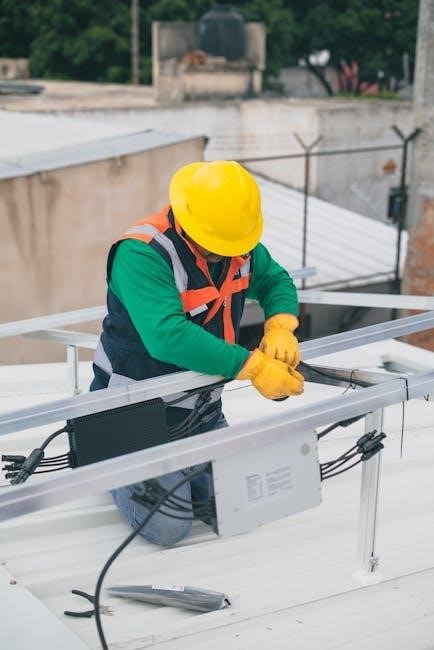
Installing the Thermostat Unit
Once the power is safely disconnected, begin by carefully removing the Honeywell T5 thermostat from its packaging. Handle the unit with care to avoid damage. Mount the base plate to the wall using the provided screws or anchors, ensuring it is level and secure. Align the thermostat unit with the base plate, gently snapping it into place until it clicks. Make sure all wires are properly seated and not pinched. Tighten the screws to secure the unit firmly to the wall. Double-check the alignment and stability of the thermostat to ensure proper functionality. Use a spirit level to confirm the unit is straight and evenly mounted. Avoid over-tightening the screws to prevent damage to the device or the wall. Ensure the thermostat is securely attached before proceeding to the wiring step.
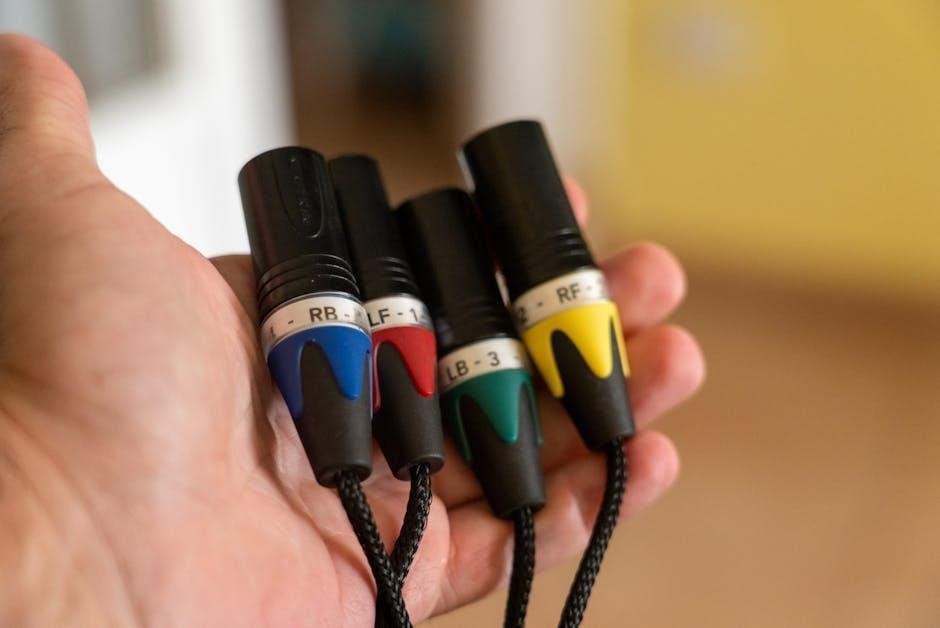
Wiring Diagrams and Connections
Refer to the wiring diagrams provided in the Honeywell T5 manual to ensure correct connections. Identify the R (power), W (heat), Y (cool), G (fan), and C (common) wires. Connect each wire to the corresponding terminal on the thermostat. Use the wiring label provided to mark wires before disconnecting the old thermostat. Securely insert each wire into the terminal, ensuring no exposed copper is visible. Tighten the terminal screws firmly but avoid over-tightening. Double-check all connections for accuracy. If your system requires a C wire and one isn’t present, use the provided adapter. Verify that all wires are properly seated and the connections are secure before proceeding. Consult the manual for specific configurations if your system has unique wiring requirements.
Mounting the Thermostat
Mount the Honeywell T5 thermostat on a flat wall surface, ensuring it is level and securely fastened. Begin by turning off power to the HVAC system at the circuit breaker. Remove any existing thermostat and prepare the wall for the new base plate. Use the provided wall anchors or screws to mount the base plate, aligning it with a level to ensure proper installation. Attach the thermostat unit to the base by snapping it into place or securing it with screws. Make sure the device is tightly fastened to prevent movement. Finally, restore power and test the thermostat to ensure it functions correctly. Follow the manual’s guidelines for optimal placement, avoiding direct sunlight or drafts for accurate temperature readings.
Configuration and Setup
After installation, power on the thermostat and follow on-screen prompts to select language and Wi-Fi network. Complete device registration for smart home integration and voice control functionality.
Initial Setup and Booting the System
After mounting the thermostat, power it on by connecting it to the HVAC system. The screen will illuminate, and you’ll see the Honeywell logo. Follow the on-screen instructions to select your preferred language. Next, the thermostat will guide you through the Wi-Fi setup process, allowing you to connect to your home network. Once connected, the system will perform a self-check to ensure all components are functioning properly. If any issues are detected, the thermostat will display an error message. Allow the system to boot completely before proceeding to configuration. This step ensures the thermostat is ready for further setup, such as registering the device or enabling smart features.
Configuring Wi-Fi Settings

To configure Wi-Fi settings on your Honeywell T5 thermostat, navigate to the network menu. Select your home Wi-Fi network from the available options and enter your password using the touchscreen keypad. Ensure your router is compatible with the thermostat’s Wi-Fi standards. If prompted, enable the thermostat to automatically connect to your network. The device will confirm the connection with a checkmark or a connected status message. For added convenience, use the Honeywell Home app to streamline the Wi-Fi setup process. Once connected, the thermostat will update with the latest settings and features. If issues arise, restart your router or perform a factory reset on the thermostat and try again. Proper Wi-Fi configuration ensures seamless smart home integration and remote control functionality.
Registering the Device
Registering your Honeywell T5 thermostat is essential for accessing advanced features and remote control via the Honeywell Home app. To register, open the app and create a Honeywell Home account if you don’t already have one. Once logged in, select “Add Device” and follow the prompts to link your thermostat. Ensure the device is powered on and connected to Wi-Fi. The app will detect the thermostat and guide you through the registration process. You’ll receive a confirmation message once registration is complete. This step enables features like remote temperature adjustments, scheduling, and smart home integration. If registration fails, restart the thermostat and retry the process, ensuring your Wi-Fi connection is stable.
Setting Up Voice Control (Alexa, Siri)
To enable voice control for your Honeywell T5 thermostat, start by ensuring it is connected to Wi-Fi and registered in the Honeywell Home app. For Amazon Alexa, open the Alexa app, navigate to “Skills & Games,” and search for the Honeywell Home skill. Enable the skill and link your Honeywell account. Say, “Alexa, discover devices” to pair the thermostat. For Apple Siri, open the Home app, tap “+” to add an accessory, and select the Honeywell T5. Assign it to a room for easier voice commands. Test voice control by saying, “Hey Siri, turn up the living room thermostat.” Ensure your smart speaker is connected to the same Wi-Fi network as the thermostat for seamless functionality.
Programming and Scheduling
The Honeywell T5 allows users to create custom schedules, optimizing energy use. Set temperature adjustments based on daily routines, ensuring comfort and energy efficiency seamlessly.
Understanding the Programming Interface
The Honeywell T5 thermostat features an intuitive programming interface designed for ease of use. The touchscreen display provides clear menu options, allowing users to navigate and adjust settings effortlessly.
Key features include a weekly schedule view, enabling users to set temperature changes for specific days and times. The interface also supports geofencing and smart alerts, enhancing automation capabilities.
Compatibility with smartphones via the Honeywell Home app ensures remote access, letting users program or adjust schedules on the go. This seamless integration simplifies energy management and comfort control.
- Weekly schedule customization
- Geofencing and smart alerts
- Remote access via app
This interface ensures a personalized and efficient heating and cooling experience, adapting to user preferences and routines.
Creating Custom Schedules
Creating custom schedules on the Honeywell T5 thermostat allows for personalized temperature control, enhancing comfort and energy efficiency. To begin, access the main menu and select the “Schedules” or “Programming” option; From there, choose between setting schedules for weekdays and weekends, or customize each day individually.
For each time block, set your desired temperature and time. The thermostat offers flexibility, enabling different settings for weekends if needed. Once configured, save your preferences to ensure they are applied.
The Honeywell Home app provides remote access, allowing adjustments on the go. This feature is particularly useful for maintaining your preferred settings without physical interaction.
- Access the main menu
- Select schedule type (weekdays, weekends, or custom days)
- Set time and temperature for each block
- Save changes
- Optional: Use the app for remote adjustments
By following these steps, you can tailor your thermostat’s operation to match your lifestyle, optimizing both comfort and energy use.
Energy-Saving Features
The Honeywell T5 thermostat incorporates advanced energy-saving features to optimize heating and cooling usage. Its smart response technology learns your home’s thermal characteristics to minimize energy waste. The thermostat also supports geofencing, adjusting temperatures based on your location to avoid unnecessary heating or cooling when you’re away.
Additional features include energy usage reports, providing insights into your consumption patterns. The T5 also integrates with smart home systems, enabling seamless energy management.
- Smart response technology for efficient temperature control
- Geofencing capabilities to adjust settings based on location
- Energy usage reports for tracking consumption
- Smart home system integration for enhanced control
These features help reduce energy consumption while maintaining comfort, making the Honeywell T5 a cost-effective and eco-friendly choice.
Geofencing and Smart Alerts
The Honeywell T5 thermostat offers geofencing, a feature that uses your smartphone’s location to automatically adjust temperature settings. This ensures energy savings by reducing heating or cooling when you’re not home. Smart alerts notify you of temperature changes, system issues, or when the thermostat is in an energy-saving mode.
- Geofencing adjusts settings based on your location
- Smart alerts provide real-time notifications for system status
- Customizable alerts for temperature thresholds and energy usage
- Integration with smart home systems for enhanced control
These features help optimize energy use and ensure your home remains comfortable while minimizing waste.

Maintenance and Troubleshooting
Regular maintenance ensures optimal performance. Clean the thermostat, check wiring, and update firmware. Troubleshoot issues like connectivity problems or sensor malfunctions by restarting the device or consulting the manual.
- Clean the thermostat regularly for accurate temperature readings
- Check wiring connections to prevent system malfunctions
- Consult the manual for troubleshooting guides and solutions
Maintenance and troubleshooting help extend the thermostat’s lifespan and ensure reliable operation.
Routine Maintenance Checks
Routine maintenance is crucial for ensuring the Honeywell T5 thermostat operates efficiently. Regularly clean the thermostat’s display and sensors to avoid dust buildup, which can affect accuracy. Inspect the wiring connections to ensure they are secure and free from damage. Check the battery levels if your model uses them, replacing them as needed. Additionally, verify that the thermostat is properly mounted and leveled to ensure correct temperature readings; Perform these checks every 3-6 months to maintain performance and reliability. Addressing minor issues promptly prevents larger problems from arising. Regular maintenance also helps extend the lifespan of the device and ensures consistent heating and cooling system operation.
Troubleshooting Common Issues
Troubleshooting the Honeywell T5 thermostat involves identifying and resolving common issues. If the thermostat doesn’t turn on, check the power source, circuit breaker, or batteries. For incorrect temperature readings, ensure the device is calibrated and sensors are unobstructed. Connectivity problems may require resetting the Wi-Fi connection or ensuring stable internet. If the screen is unresponsive, restart the device or perform a factory reset. Addressing these issues promptly ensures optimal performance. Always refer to the manual for detailed solutions, and contact customer support if problems persist. Regular troubleshooting helps maintain efficiency and extends the device’s lifespan, ensuring reliable temperature control and smart home integration functionality.
Resetting the Thermostat
Resetting the Honeywell T5 thermostat can resolve software issues or restore factory settings. To perform a factory reset, press and hold the “Menu” and “Back” buttons simultaneously for 10 seconds. The thermostat will reboot, indicating the reset. For a soft reset, remove the battery or disconnect power for 30 seconds. Reconnect and allow the system to restart. Ensure the thermostat is powered on before resetting. Resetting will erase custom settings, so reconfigure preferences afterward. Use this feature cautiously and only when necessary. Always refer to the manual for detailed instructions. Resetting helps maintain optimal performance and resolves operational glitches effectively, ensuring smooth functionality and energy efficiency.
Updating Firmware
Regular firmware updates ensure the Honeywell T5 thermostat operates with the latest features and improvements. To update, open the Honeywell Home app, navigate to the settings menu, and select “Device Update.” The app will check for available updates and guide you through the installation process. Ensure the thermostat is connected to Wi-Fi before starting. During the update, the thermostat will reboot, and the screen may go blank temporarily. Do not interrupt the process. Once complete, the thermostat will resume normal operation with enhanced functionality. Firmware updates improve performance, add new features, and address potential bugs. Always keep your device updated for optimal performance and security. Regular updates are crucial for maintaining energy efficiency and system reliability. Use the app to check for updates periodically.

Advanced Features and Customization
The Honeywell T5 offers advanced features like smart home integration, custom temperature settings, and energy management. These options allow users to tailor their comfort and efficiency preferences.
Smart Home Integration
The Honeywell T5 thermostat seamlessly integrates with popular smart home systems like Amazon Alexa and Apple HomeKit. This allows for voice control and enhanced automation capabilities. Users can control their thermostat through smart speakers or smartphone apps, ensuring convenience and energy efficiency. The T5 also works with other smart devices, enabling features like geofencing and smart alerts. By integrating with your smart home ecosystem, the thermostat can adapt to your schedule and preferences, optimizing comfort and energy usage. For detailed setup instructions, refer to the configuration section of this manual. This advanced feature ensures a connected and efficient home environment tailored to your needs.
Customizing Temperature Settings
The Honeywell T5 thermostat allows users to customize temperature settings to suit their preferences and lifestyle. Through the thermostat or the Honeywell Home app, you can set custom temperature ranges, create schedules, and enable geofencing to adjust temperatures based on your location. The thermostat also learns your habits over time, optimizing settings for energy efficiency and comfort. Smart alerts notify you of extreme temperature changes, ensuring your home stays within your desired range. For advanced customization, you can adjust temperature holds, set vacation modes, and fine-tune humidity levels if connected to a humidifier. These features provide precise control over your home’s climate, ensuring comfort and energy savings. Refer to the programming section for detailed setup instructions.
Advanced Energy Management
The Honeywell T5 thermostat offers advanced energy management features to optimize your home’s energy usage. Smart scheduling allows you to create customized heating and cooling plans, while geofencing adjusts settings based on your location. The thermostat also provides energy usage reports, helping you identify patterns and reduce waste. Energy-saving modes, such as “Home” and “Away,” ensure efficient operation. Additionally, the T5 integrates with smart devices to balance comfort and energy savings. By leveraging these features, you can significantly lower utility bills while maintaining a comfortable living environment. For detailed instructions on configuring these settings, refer to the programming and scheduling section of the manual.
Security and Privacy Settings
The Honeywell T5 thermostat includes robust security and privacy features to protect user data and ensure safe operation. Secure authentication ensures only authorized users can access settings. Data encryption safeguards personal information and usage patterns. Privacy settings allow users to control how their data is shared. The thermostat also supports multi-user accounts with customizable permissions. Regular software updates enhance security by patching vulnerabilities. Users can enable two-factor authentication for added protection. For detailed guidance, refer to the manual’s security section. These features ensure your smart thermostat remains secure while maintaining your privacy.
Completing the Honeywell T5 installation ensures your system operates efficiently, providing enhanced comfort and energy savings. Review all settings, and refer to resources for further assistance.
Final Checks and Verification
After completing the installation, perform a thorough system check to ensure everything functions correctly. Verify that all wires are securely connected, and the thermostat is properly mounted; Test the HVAC system by switching between heating and cooling modes to confirm smooth operation. Check the Wi-Fi connection to ensure the thermostat is online and synced with your smart home system. Review the scheduling and programming to make sure it aligns with your preferences. Conduct a visual inspection of the thermostat and wiring for any signs of damage or loose connections. Finally, run the system for a few minutes to ensure it responds to temperature adjustments and voice commands if applicable.
Resources for Further Assistance
For additional support, Honeywell provides comprehensive resources to help with the T5 thermostat installation and operation. Visit the official Honeywell website for detailed guides, FAQs, and troubleshooting tips. Download the official Honeywell T5 Installation Manual in PDF format for step-by-step instructions. Contact Honeywell Customer Support directly for personalized assistance. Explore online forums and community discussions for shared experiences and solutions. Refer to Honeywell’s YouTube channel for video tutorials and installation demos. Ensure you have the latest firmware updates by checking the Honeywell Home app. These resources are designed to help you optimize your thermostat’s performance and resolve any issues promptly.